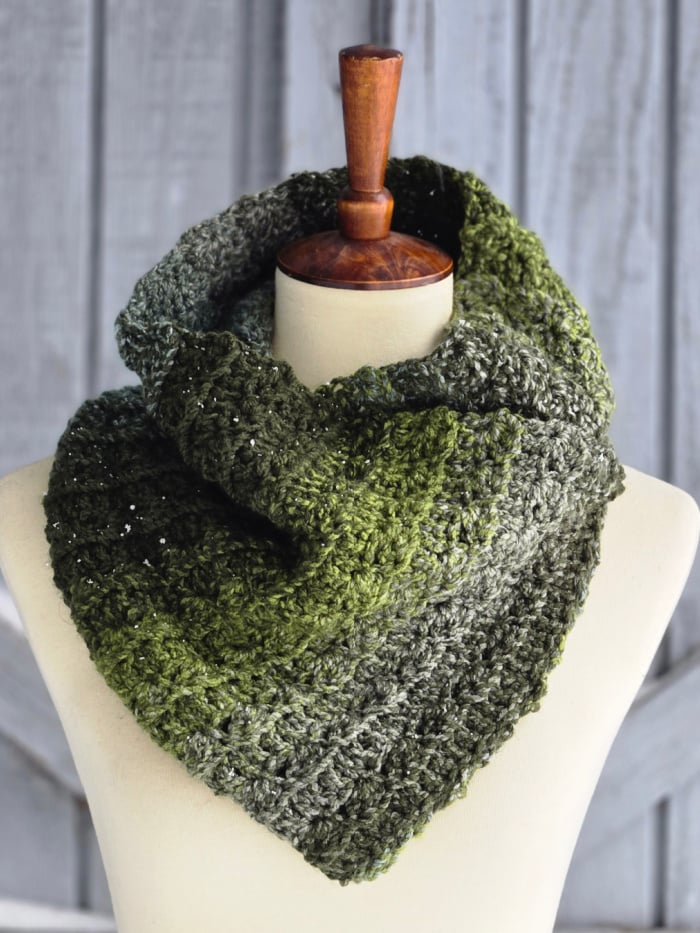
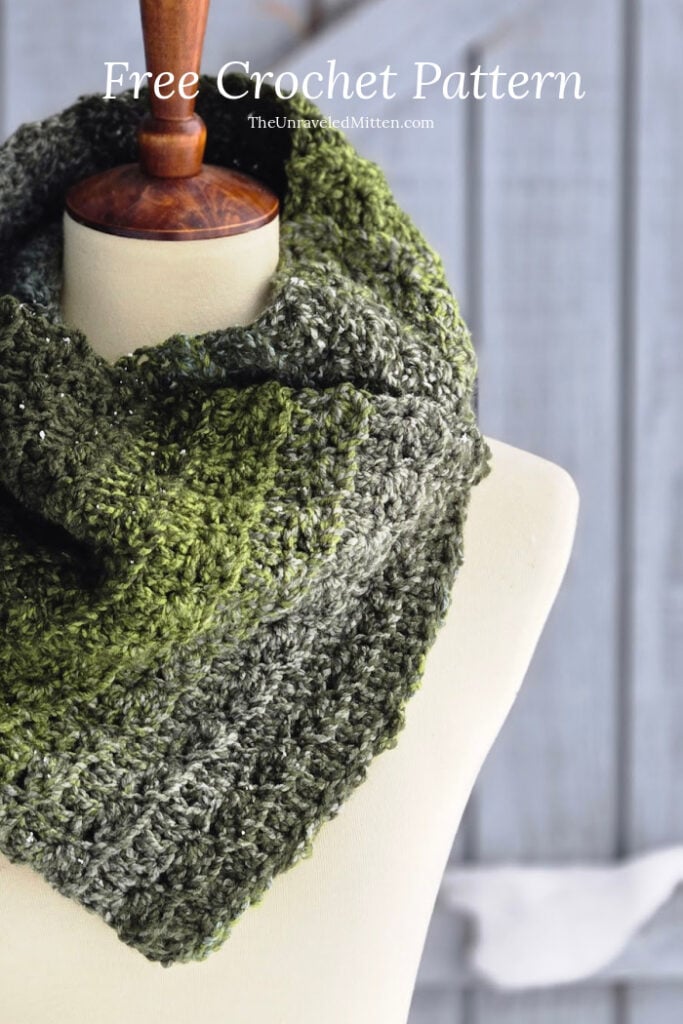
The Pines Point Cowl is a quick one-skein project using bulky yarn. I love that is is warm and cozy without the added bulk of a full-size scarf.
This pattern is part of the Scarf of the Month Club hosted by Rhondda of Oombawka Design and Amy at The Sitchin Mommy. I also have a matching hat pattern next week for their Hat of the Month Club!

You can see the other patterns for February’s Scarf of the Month CAL here:
Cozy Texture Cowl by Oombawka Design
Cobalt Sky Scarf by The Stitchin’ Mommy
What You’ll Love About This Pattern
Materials and Pattern Information
- 281 yds Premier Puzzle Yarn (328yds/7oz, #5 Bulky, 100% acrylic)
- Hint: If you want to make the hat pattern to match this cowl, buy 2 balls.
- 6.5mm crochet hook
- Scissors + Yarn Needle
- Stitch Markers
Gauge and Sizing
- Gauge: 12 dc x 7 rows = 4 in
- Use pattern stitch
- Finished Size: 10.5 in x 35 in measured before sewing
Abbreviations
- US Terminology
- Ch(s): chain(s)
- St(s): stitch(es)
- Dc: double crochet
- Sc: single crochet
- BLO: back loop only
Notes
- Ch 1 and 2 do not count as stitches
- Some slanting is normal. You can either block your project if you want to straighten it out. I don’t think it will be noticeable once it is sewn together.
Pines Point Cowl Crochet Pattern Written Instructions
Row 1: Ch 33, Dc in the 3rd ch from your hook and in each ch across. Turn. (31 dc)
- Place stitch marker in 1st stitch of row 1.
Row 2: Ch 1, (Sc, 2dc) in same st as ch 1. Skip 2 sts. * (Sc, 2dc) in the next st, skip 2 sts. Repeat from * across. Sc in final stitch. Turn. (31 sts)
Row 3: Ch 2, working in BLO, dc in same st as ch 2 and each st across. Turn. (31 dc)
Row 4-59: Repeat rows 2 & 3. After final row, finish off leaving 6ft long tail for sewing.
- Place stitch marker in 1st stitch of row 59.
Assembly
If desired, steam block your finished rectangle.
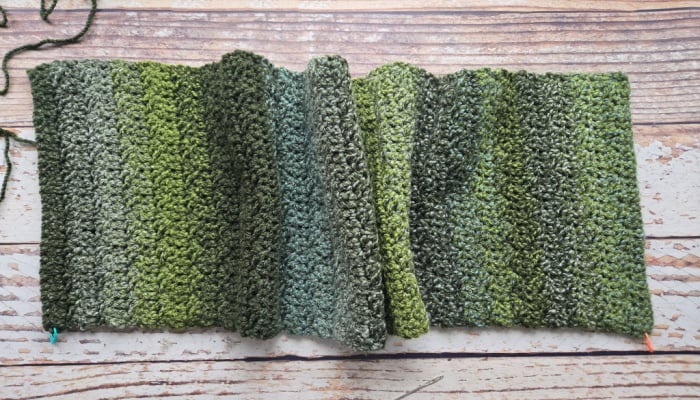
Lay your rectangle out flat with the backside (not textured side) facing up.
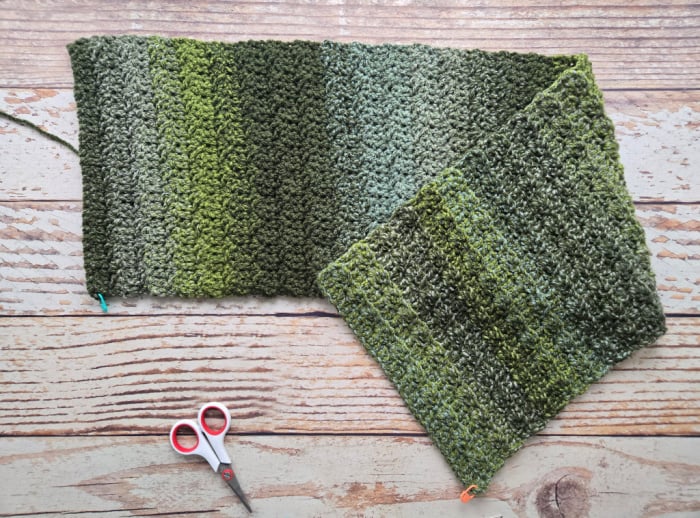
Fold the top right point down to the center, as shown above.
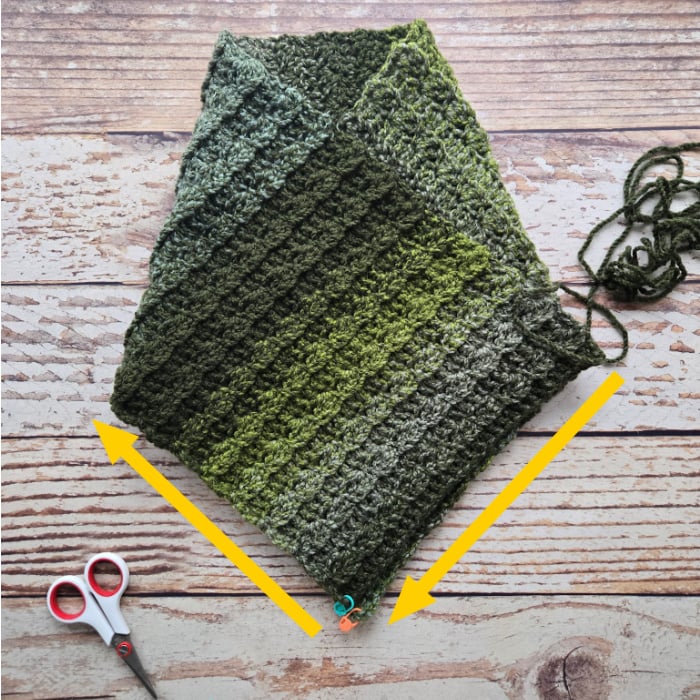
Fold the top left piece down so the 2 stitch markers meet. Use more stitch markers to match up the edges where the pieces overlap.
Sewing: Using the long tail, whip stitch edges together by inserting your needle from back to front through both layers every 1/4 -1/2 inch along the overlapping edges (follow the yellow arrows in photo above).
Weave in ends.
