
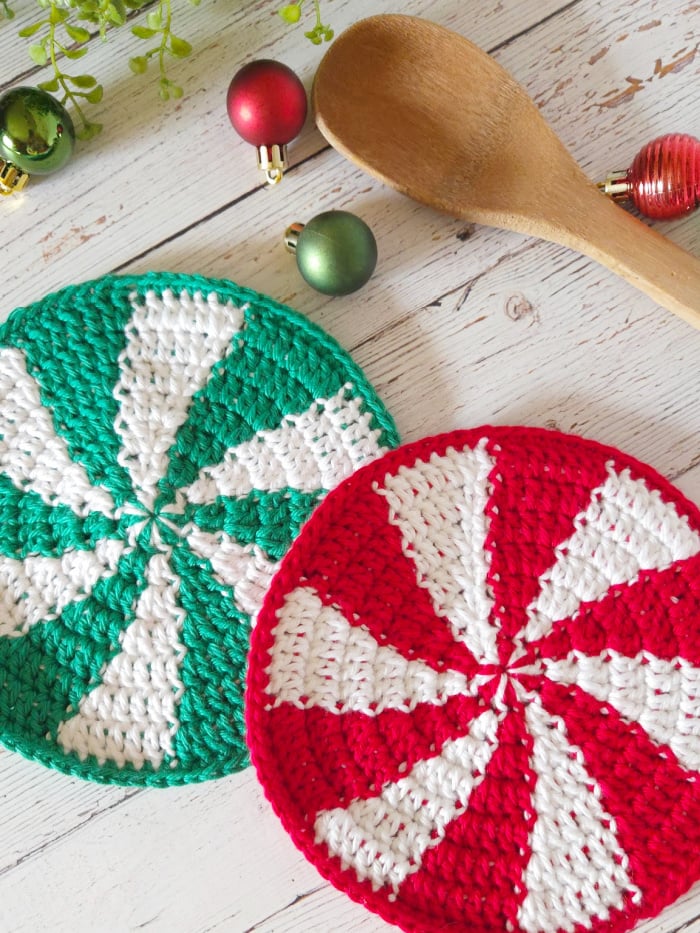
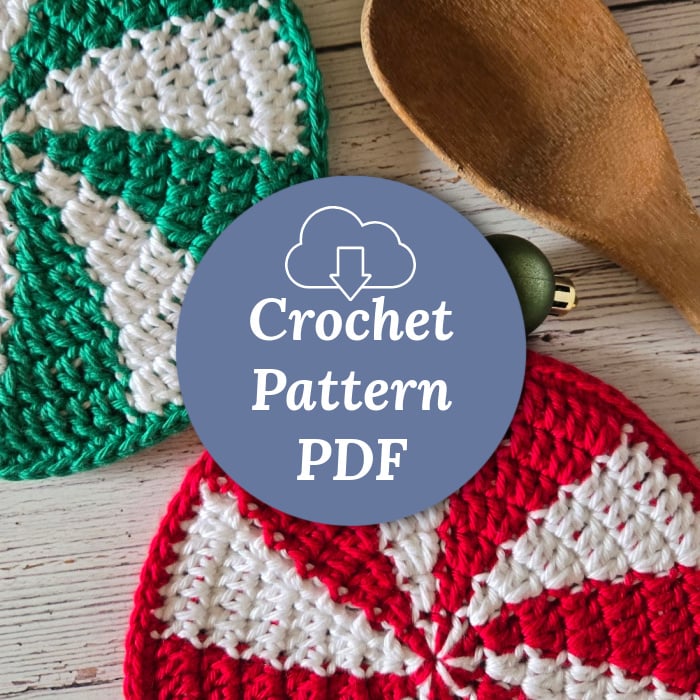
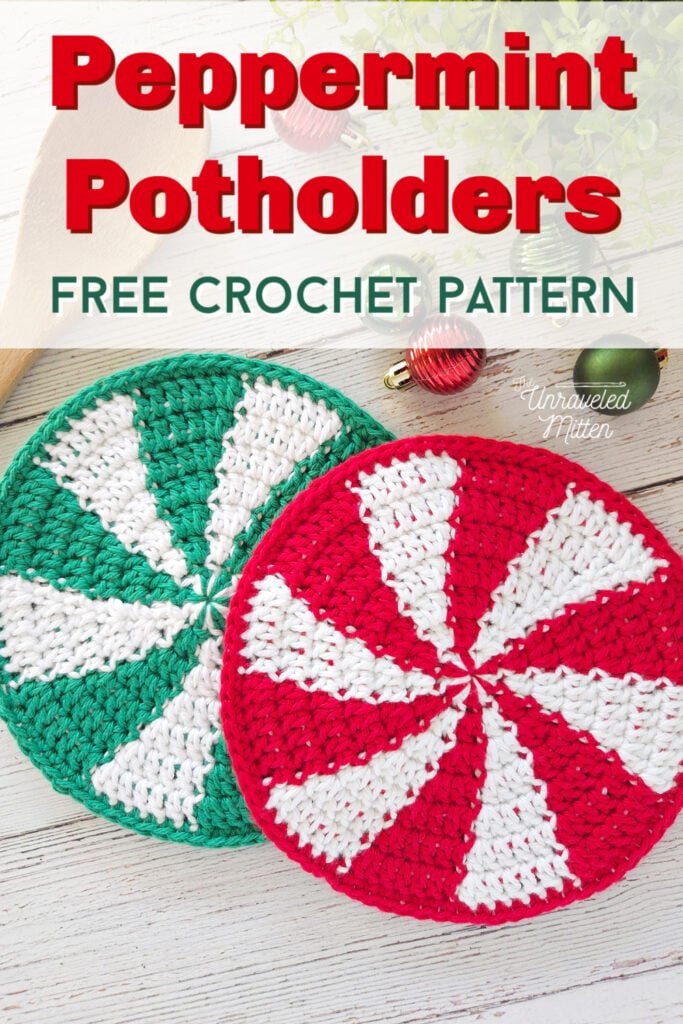
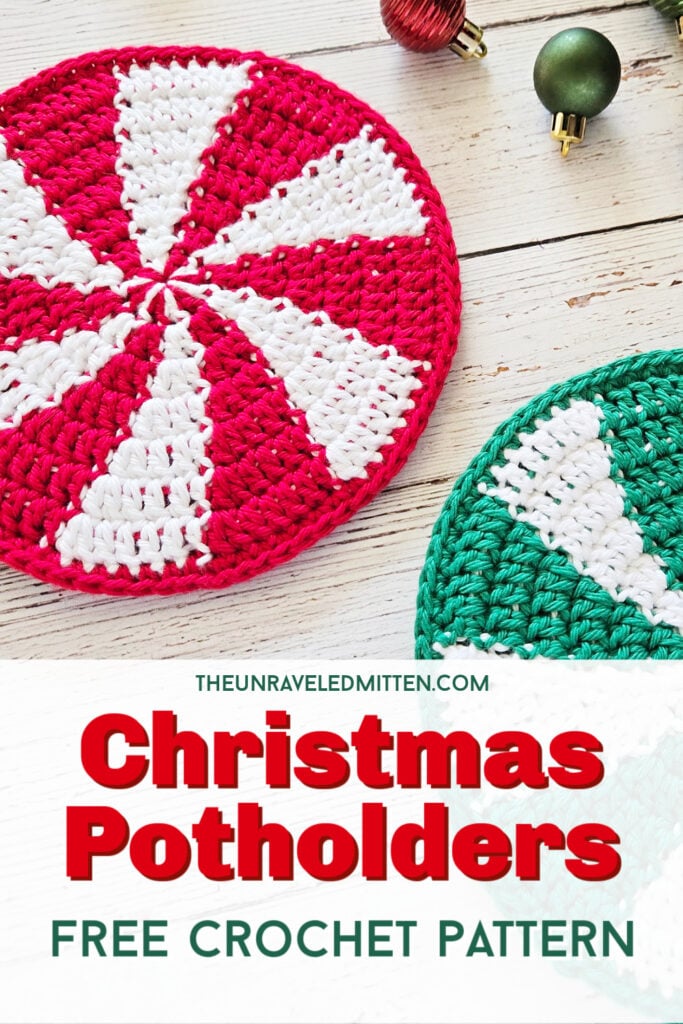
Crochet a festive peppermint candy potholder with this free crochet pattern! This double-layer Christmas potholder is perfect for holiday kitchens and handmade gifts.
This Christmas potholder features a classic swirl design inspired by those red or green mint hard candies. Those little candies are so nostalgic!
About This Crochet Peppermint Potholder Pattern
This double-layer potholder is made by crocheting two double crochet flat circles and then joining them together around the edge with single crochet stitches. The back side of the potholder is made in a solid color. The front side features the peppermint swirl design.
The swirl is made by changing color back and forth between white and red all the way around. The unused color is carried along the round so you can pick it back up when it is time to change colors. This prevents a lot of unnecessary ends to weave in and also adds to the overall thickness of the potholder.
When choosing yarn for this potholder, pick a yarn that is 100% cotton. Using an acrylic yarn could result in it melting or you burning your hands. Acrylic yarn is not heat resistant.
You could potentially use a non-superwash wool yarn, but it will be harder to keep clean because it runs the risk of felting during washing. I like 100% cotton for its washability and its durability.
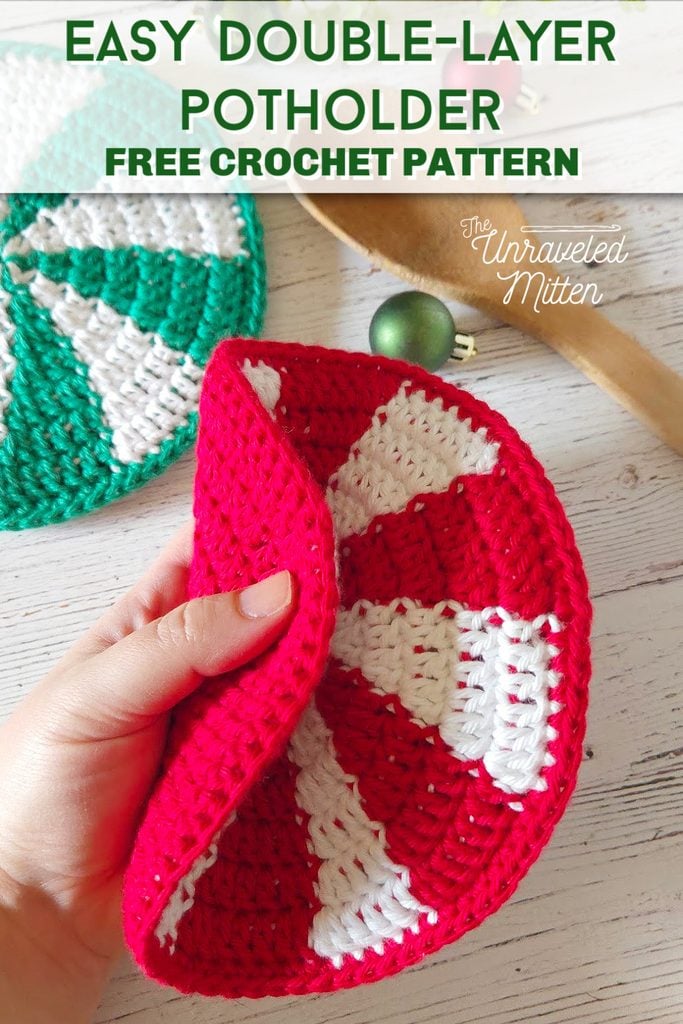
Ways to Use Your Crochet Peppermint Potholder
These would also make a great addition to a holiday craft fair table!
Materials and Pattern Information
- I Love This Cotton or similar #4/worsted weight 100% cotton yarn
- 62 yds Red or Green
- 21 ydsWhite
- 4.5mm crochet hook
- Scissors + Yarn Needle
- Gauge: 3 rounds = 3 in diameter
- Finished Size: 7 ¼ in diameter
Abbreviations
- US Terminology
- Ch(s): chain(s)
- St(s): stitch(es)
- Dc: double crochet
- Sc: single crochet
- STsc: stacked Single crochet
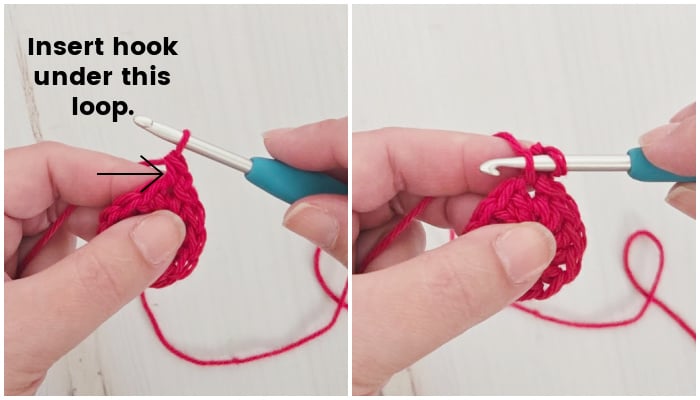
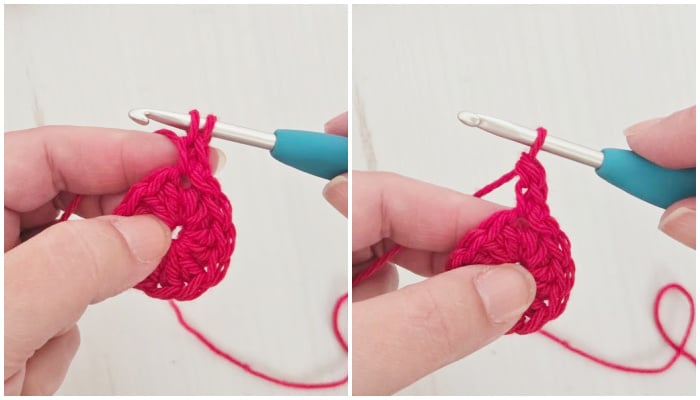
Stacked Single Crochet (STsc): Insert hook into stitch indicated, yarn over and pull up loop, yarn over and pull through 2 loops on hook. (single crochet made). Insert hook into the left leg (right leg, if you’re left-handed) of the single crochet. Yarn over and pull up loop. Yarn over and pull through both loops on hook.
Notes
- Do not cut yarn; crochet over the top of unused color
- Stacked single crochet counts as 1 dc.
- Ch 1 does not count as a stitch.
- If using a color other than red, where it says to change to red in the pattern, change to the alternate color you chose
- To change color, work the stitch before color change until final 2 loops remain on hook, drape new color over hook and finish stitch with new color.
Save this on Pinterest!!
Christmas Peppermint Potholder Crochet Pattern
Front Panel
Rnd 1: Using White, make magic ring. STsc in ring, change to red (see instructions in notes), 1 dc in ring, change to white, 1 dc in ring repeat from * r more times. Change to red. 1 dc in ring. Change to white. Join with sl st.
Rnd 2: In same st as join, make STsc and dc, *Change to red, 2 dc, change to white, 2 dc in next, repeat from * around until 1 st remains. Change to red, 2 dc in final st. Change to white. Join with sl st.
Rnd 3: In same st as join, make STsc and dc, dc in next. *Change to red, 2 dc in next. Dc in next, change to white, 2 dc in next. Dc in next, repeat from * around until 2 st remains. Change to red, 2 dc in next, dc in next. Change to white. Join with sl st.
Rnd 4: In same st as join, make STsc and dc, dc in next 2. *Change to red, 2 dc in next. Dc in next 2, change to white, 2 dc in next. Dc in next 2, repeat from * around until 3 st remains. Change to red, 2 dc in next, dc in next 2. Change to white. Join with sl st.
Rnd 5: In same st as join, make STsc and dc, dc in next 3. *Change to red, 2 dc in next. Dc in next 3, change to white, 2 dc in next. Dc in next 3, repeat from * around until 4 st remains. Change to red, 2 dc in next, dc in next 3. Change to white. Join with sl st.
Rnd 6: In same st as join, make STsc and dc, dc in next 4. *Change to red, 2 dc in next. Dc in next 4, change to white, 2 dc in next. Dc in next 4, repeat from * around until 5 st remains. Change to red, 2 dc in next, dc in next 4. Change to white. Join with sl st.
Rnd 7: In same st as join, make STsc and dc, dc in next 5. *Change to red, 2 dc in next. Dc in next 5, change to white, 2 dc in next. Dc in next 5, repeat from * around until 6 st remains. Change to red, 2 dc in next, dc in next 5. Change to white. Join with sl st. Finish off. Weave in ends.
Back Panel
Using red
Rnd 1: Make magic ring, stsc in ring, 11 dc in ring. Join to top of 1st st with sl st.
Rnd 2: STsc and dc in same st as join. 2 dc in each st around. Join with slst.
Rnd 3: STsc and dc in same st as join. Dc in next. *2 dc in next, dc in next. Repeat from * around. Join with Sl st
Rnd 4: STsc and dc in same st as join. Dc in next 2. *2 dc in next, dc in next 2. Repeat from * around. Join with Sl st.
Rnd 5: STsc and dc in same st as join. Dc in next 3. *2 dc in next, dc in next 3. Repeat from * around. Join with Sl st
Rnd 6: STsc and dc in same st as join. Dc in next 4. *2 dc in next, dc in next 4. Repeat from * around. Join with Sl st
Rnd 7: STsc and dc in same st as join. Dc in next 5. *2 dc in next, dc in next 5. Repeat from * around. Join with Sl st. Do not finish off. Move on to assembly instructions
Assembly
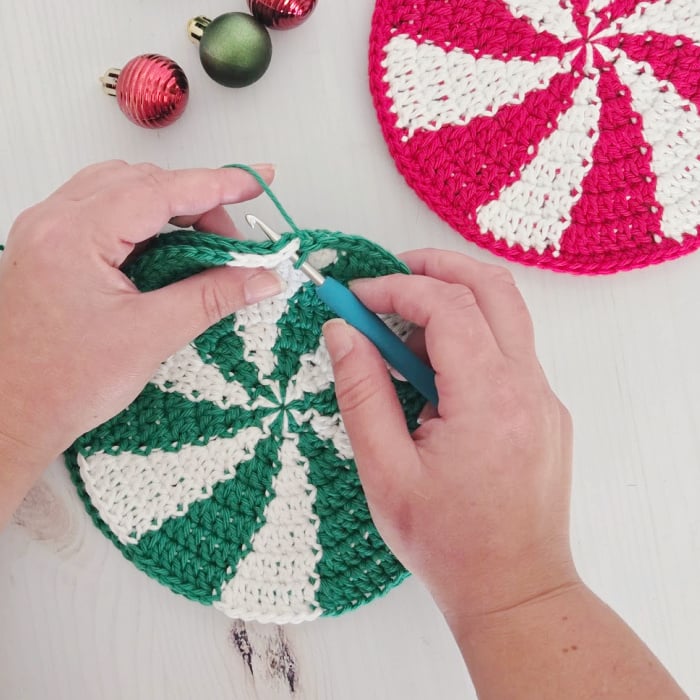
Put back and front pieces together with right sides facing out. With peppermint design facing you, pick up yarn from back panel, ch 1, working through both loops of front and back panel, sc in same st as ch 1 and each st around. Join to the first st with sl st. Finish off and weave in ends.
There are many different ways to use your finished crochet potholder! Add it to your holiday kitchen decor, put it in a gift basket with some fun treats, or even sell it at your holiday craft markets. These are quick to make and make great gifts!